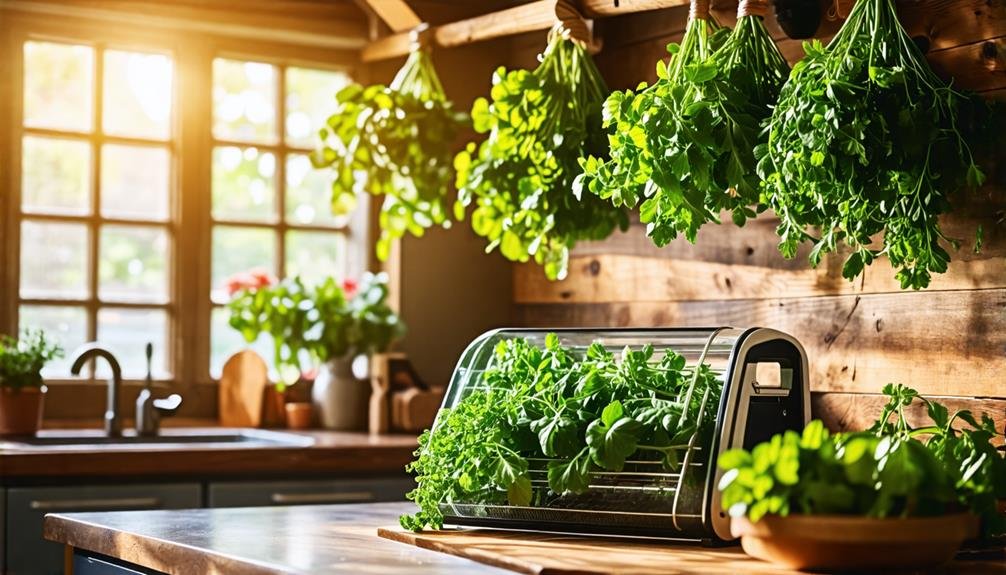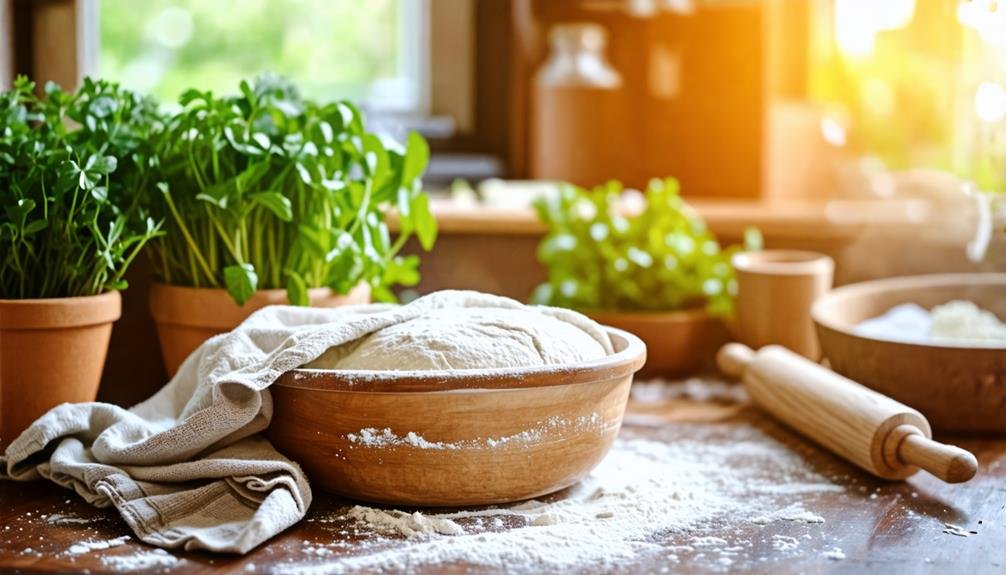
The best location to proof bread is in a warm, draft-free setting, ideally between 72-78 degrees Fahrenheit. This temperature range is essential for activating yeast effectively, enabling your dough to rise beautifully. You can utilize your oven with the light on for a controlled, cozy ambiance, or simply locate a warm room in your home. Remember to cover your dough to trap moisture, creating a mini greenhouse impact. Proper proofing not only enriches flavor but also guarantees a light, airy loaf. Curious about other suggestions to boost your baking abilities? There's more to explore!
Importance of Proofing in Bread Baking
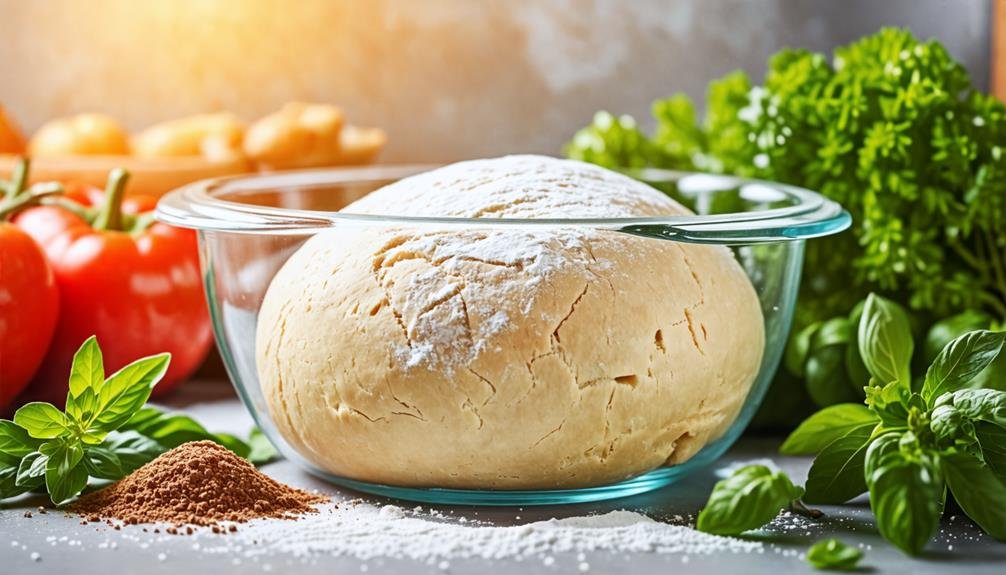
Proofing is an essential phase in bread baking, significantly influencing the texture and flavor of the final product. This process allows Saccharomyces cerevisiae, commonly known as yeast, to produce carbon dioxide and ethanol, which enhance the dough's rise and complexity. Proofing converts a basic blend of wheat flour, water, and yeast into a light, airy loaf.
To achieve optimal results, follow key bread baking practices. Ensure your dough is covered, preventing moisture evaporation that can hinder proofing. A warm and stable environment, such as a proofing box from brands like KitchenAid, promotes yeast activity and flavor enhancement. Keep in mind that proofing duration may vary based on techniques, so be adaptable. Neglecting proofing can result in dense, unsatisfactory bread, while attentive monitoring can elevate your baking. Embrace the proofing journey, and enjoy the delightful outcomes that each loaf brings!
Ideal Proofing Temperature Range
To achieve the perfect proofing temperature range of 72-78 degrees Fahrenheit is crucial for enhancing yeast activity and ensuring a successful rise in bread baking. When your dough is in this ideal zone, yeast flourishes, resulting in that light, airy loaf everyone desires. Here are some kitchen tips to help you find the best spot for proofing bread:
- Warm Oven: Activate your oven light! It creates a cozy atmosphere, typically ranging from 75-100 degrees Fahrenheit.
- Sunlit Counter: Position your dough near a sun-drenched window; natural warmth can significantly boost your yeast's performance.
- Proofing Box: If you're feeling adventurous, think about purchasing a proofing box. These specialized appliances maintain the ideal temperature for consistent baking results.
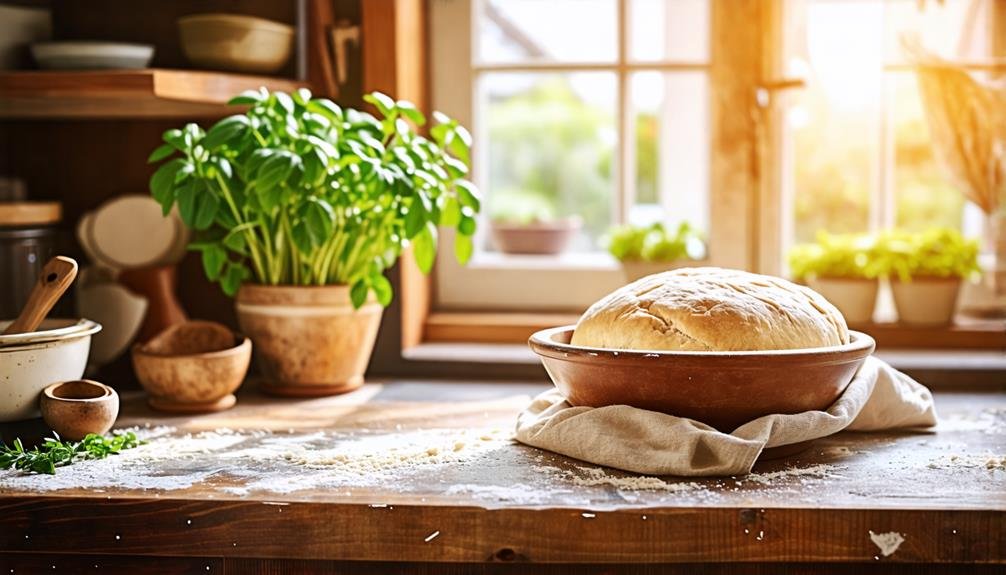
Proofing in a Warm Room
Creating the ideal environment for proofing bread is crucial to achieve that light and airy texture we all desire. Maintaining a recommended room temperature between 72-78 degrees Fahrenheit fosters best yeast activity, allowing your dough to rise beautifully. Furthermore, ensuring that the proofing area is free from drafts will further improve the fermentation process, leading to consistently delightful results.
Ideal Room Temperature
Maintaining an optimal indoor temperature, ideally between 72 and 78 degrees Fahrenheit, is essential for enhancing yeast activity during the proofing stage. Yeast, a living microorganism, flourishes in warmth, making it crucial to cultivate the right setting for that perfect loaf of bread. When temperatures fall below this range, yeast activity slows, causing your dough to rise inadequately. In contrast, excessive heat can trigger rapid fermentation, which may affect flavor and texture negatively.
To create this optimal environment, consider these practical strategies:
- Utilize Your Kitchen Oven: Activate the oven light to gently warm the space, providing a cozy area for your dough to rise.
- Select a Suitable Room: Identify a warm area in your home that is shielded from drafts and temperature fluctuations to ensure a consistent environment.
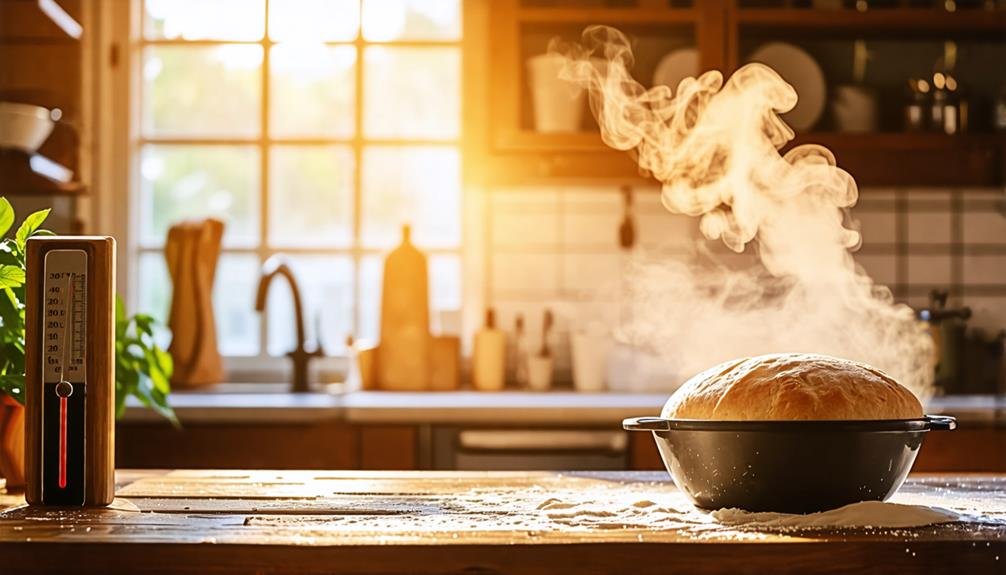
- Monitor the Temperature: Use a reliable oven thermometer to confirm that the space maintains the ideal temperature range, making adjustments as needed.
Embrace the art of proofing; by nurturing your dough in a warm and welcoming atmosphere, you enable your yeast to perform effectively, ultimately resulting in a light, airy, and delicious baked good. Happy baking!
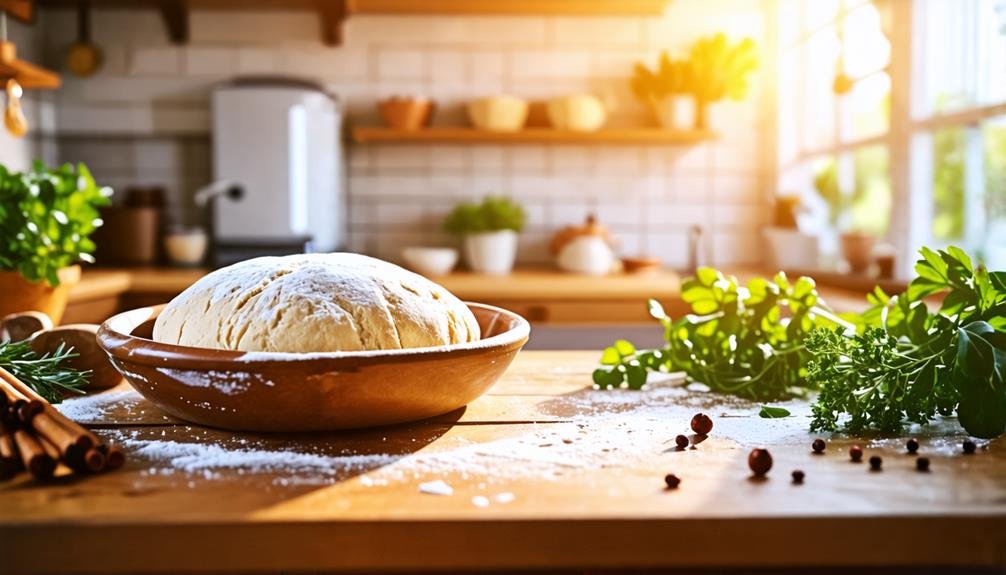
Preventing Drafts
Creating a draft-free environment is essential for successful proofing, as even minor temperature changes can impede yeast performance and disrupt the rising process. Yeast flourishes in a consistent environment, ideally between 72-78 degrees Fahrenheit. Drafts can result in cool areas that slow down fermentation, leading to heavy and unsatisfactory loaves.
To maintain that warm, inviting atmosphere, consider proofing your dough in a sealed space away from windows and doors. If your kitchen tends to be drafty, covering the dough with a kitchen towel or plastic wrap can create a mini greenhouse effect that retains heat and blocks drafts.
A great method for avoiding drafts is using an oven with the light turned on. This approach not only provides warmth but also ensures a stable proofing temperature. Just be sure to keep the oven door shut!
You can also find a warm spot in your home, such as near a radiator or in a sunlit area, but watch out for sudden temperature fluctuations. By protecting your dough from drafts, you're paving the way for a beautifully risen loaf, ready to be crafted into a delicious bread creation. Happy baking!
Using the Oven for Proofing
Using the oven for proofing can greatly improve your bread-making experience, providing a controlled environment for best yeast activity. By employing techniques such as the oven light method or incorporating a steam pan, bakers can create the perfect conditions for dough to rise beautifully. Embracing these methods not only guarantees a light and airy loaf but also adds a touch of culinary creativity to your baking routine.
Oven Light Technique
The oven light technique is a useful method for creating a controlled environment for dough proofing, enabling yeast activity at optimal temperatures ranging from 72 to 78 degrees Fahrenheit. This approach takes advantage of the gentle warmth produced by the oven's light bulb, turning your kitchen into a comfortable space for rising dough.
To effectively utilize this technique, follow these three essential steps:
- Activate the Oven Light: Switch on the oven light ahead of time to ensure the internal temperature rises sufficiently before introducing your dough.
- Check with a Thermometer: Employ an oven thermometer to verify that the temperature remains within the desired range. This ensures an ideal proofing atmosphere for your dough to flourish.
- Shield Your Dough: Protect your dough from cold air and moisture loss by loosely covering it with a damp cloth or plastic wrap. This step is crucial for sustaining an even environment.
Steam Pan Method
Harnessing the steam pan method enhances the proofing process for bread. This technique involves positioning a shallow pan filled with hot water on the bottom shelf of your oven. The steam released raises humidity levels, creating an ideal atmosphere for yeast activity and dough expansion.
As yeast flourishes in warm, moist conditions, this method ensures your bread rises perfectly, resulting in a light and airy loaf. Imagine the enticing scent permeating your kitchen as your dough undergoes its transformation! Moreover, this method provides flexibility in your baking timeline, allowing you to adjust the water temperature for optimal humidity.
Adopt the steam pan method for an enriching baking adventure. By fostering a warm and humid environment, you empower your dough to achieve its fullest potential. So, gather your ingredients, explore your creativity, and let the steam work wonders for consistently perfect bread!
Cold Proofing Techniques
Cold proofing methods consistently enhance flavor development in artisanal loaves while giving bakers the ability to manage their baking timeline. This technique, often embraced by skilled bakers, allows dough to ferment gradually in a refrigerator, resulting in a complex flavor profile. Here are three key advantages of cold proofing:
- Improved Flavor: Extended fermentation time fosters the creation of rich, layered flavors in the bread, transforming each bite into a delightful experience.
- Baking Flexibility: Cold proofing allows bakers to prepare their dough ahead of time, enabling them to bake when it suits them best without facing time pressures.
- Perfect for Sourdough: This method is especially favored for sourdough bread, as the chilled environment enhances the unique tanginess that sourdough enthusiasts cherish.
Factors Influencing Proofing Success
Key components such as effective kneading, ambient temperature, and moisture maintenance significantly impact the success of bread proofing. Well-kneaded dough is essential; this action develops gluten, which traps air and allows the bread to rise beautifully. Poor kneading can lead to a dense loaf with an undesirable texture.
Ambient temperature is vital for activating yeast. Yeast flourishes in a warm environment, ideally between 72-78 degrees Fahrenheit. If the environment is too cool, fermentation slows, resulting in an unimpressive rise. On the other hand, excessive heat can cause overproofing, leading to a flattened loaf.
Additionally, moisture maintenance is crucial. Covering dough with a damp cloth or plastic wrap prevents drying, allowing yeast to perform effectively. This straightforward measure can significantly enhance the outcome.
Benefits of Proper Proofing
Achieving proper proofing is essential for bakers who want to create outstanding bread. It significantly impacts the dough's rise, texture, and flavor. When you allow your dough to proof correctly, you unlock a variety of advantages that elevate your baking journey.
- Fluffy and Light Loaf: Proper proofing activates the yeast effectively, resulting in a soft, airy bread texture—ideal for sandwiches or breakfast toast.
- Rich Flavor Profile: The fermentation that occurs during proofing enhances the taste of your bread. This effect is particularly pronounced with longer fermentation methods, like cold proofing, which can develop complex, nuanced flavors.
- Reliable Outcomes: Correct proofing reduces the likelihood of producing dense, unsatisfactory loaves. Every bake becomes a joyful exploration of your culinary creativity, allowing for experimentation while delivering consistent results.
Embracing the art of proofing not only elevates your dough but also ties you to the rich tradition of bread-making. So, get ready to let your dough rise—your palate will surely appreciate the results!
Common Proofing Mistakes to Avoid
Bakers often face challenges during the proofing phase that can affect their bread's quality. One frequent issue is temperature management. Yeast, like the one found in Red Star, thrives best between 72-78 degrees Fahrenheit. Proofing in cold or excessively hot environments can disrupt fermentation.
Another common mistake is inadequate coverage. Not covering the dough can lead to moisture loss, resulting in a dry crust that hinders proper rising.
Timing plays a pivotal role as well. Over-proofing can weaken the dough structure, causing it to collapse, while under-proofing can lead to dense loaves. It's essential to observe the dough's volume instead of relying solely on a timer.
The choice of container also matters. Non-porous materials, like glass, retain moisture, while porous options, such as cloth, can dry out the dough too quickly.
Lastly, patience is key. Hurrying through the proofing stage often results in subpar bread. By being aware of these common pitfalls, bakers can create exceptional loaves and truly enjoy the craft of bread making!
Enhancing Flavor With Cold Proofing
Cold proofing not only resolves common proofing errors but also amplifies the flavor profile of artisan loaves, making it a preferred method among bakers, especially for sourdough varieties. This technique allows the dough to undergo a gradual fermentation process in the refrigerator, cultivating intricate flavors that elevate your baking experience.
Here are three significant advantages of cold proofing:
- Deep Flavor Development: The prolonged fermentation period creates complex, rich flavors that are often missing in faster baking techniques.
- Flexible Baking Schedule: Cold proofing provides bakers with the convenience to prepare dough in advance, allowing it to rise overnight for a timely bake.
- Improved Texture: The slow fermentation process results in a more open crumb structure, yielding a light and airy loaf that delights the palate.
Embracing the cold proofing technique encourages bakers to explore the craft of bread making with creativity and freedom. Why not embark on this flavorful journey? Your taste buds will appreciate the deeper, more satisfying flavors that await!