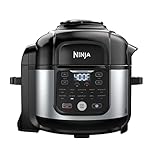
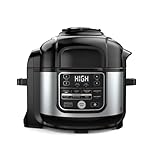
To make the Ninja Foodi Yogurt recipe, you will need a “yogurt starter,” 2 tablespoons of yogurt with active live cultures, and an instant thermometer. I use vanilla and honey to flavor and sweeten the yogurt. Jam, fruit purée, and extracts also give great flavors. Or top plain yogurt with berries or granola for both flavor and texture. You can Refrigerate leftovers for up to 2 weeks.
Does The Ninja Foodi Have a Yogurt Button?
Not all ninja foodi has a yogurt button. The only Ninja Foodi with a yogurt button is the 6.5-quart (OP301) and the 8-quart Deluxe (FD401). However, you can still make yogurt in any Ninja Foodi. The recipe below will show you how.
How to Make Yogurt in Ninja Foodi without Yogurt Button
Suppose you prefer a thicker Greek-style yogurt. Then strain the yogurt through cheesecloth into a mixing bowl and place it in your fridge overnight.
Step 1. Pour the milk into the pot. Assemble the Pressure Lid, ensuring the pressure release valve is in the Vent position. Select Sear/Sauté and set it to Medium. Select Start/Stop to begin.
Step 2. Bring the milk to 180°F, checking the temperature regularly and frequently stirring, so the milk does not burn at the bottom. Select Start/Stop to turn off Sear/Sauté.
Step 3. Let the milk cool to 110°F; check with an instant thermometer continuing to check the temperature often and stirring often. Gently skim off the “skin” on the milk and discard it.
Step 4. Now Stir in the yogurt and whisk until combined.
Step 5. Put the Pressure Lid on, ensuring the pressure release valve is in the Vent position. Let the mixture incubate for 8 hours.
Step 6. After 8 hours of incubation, transfer the yogurt to a glass container and refrigerate for four hours.
Step 7. Add the vanilla and honey (if using) to the yogurt and stir until well blended. Cover and place the glass bowl in the refrigerator or distribute the yogurt evenly among airtight glass jars.
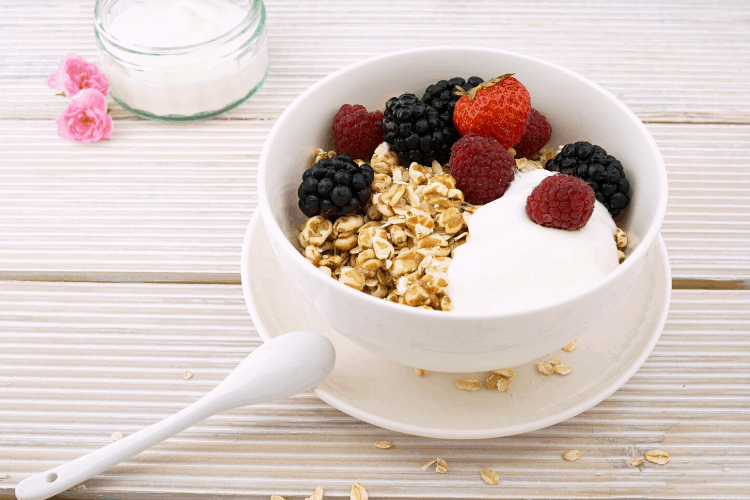
Homemade Greek Yogurt in Ninja Foodi
Ingredients
- ½ gallon whole milk
- 2 tablespoons plain yogurt with active live cultures
- 1 tablespoon vanilla extract
- ½ cup honey
Instructions
- Pour the milk into the pot. Assemble the Pressure Lid, ensuring the pressure release valve is in the Vent position. Select Sear/Sauté and set it to Medium. Select Start/Stop to begin.
- Bring the milk to 180°F, checking the temperature and frequently stirring so the milk does not burn at the bottom. Select Start/Stop to turn off Sear/Sauté.
- Allow the milk to cool to 110°F, continuing to check the temperature often and stirring frequently. Gently skim off the “skin” on the milk and discard.
- Stir in the yogurt and whisk until incorporated.
- Assemble the Pressure Lid, ensuring the pressure release valve is in the Vent position. Let incubate for 8 hours.
- After 8 hours, transfer the yogurt to a glass container and chill for 4 hours in the refrigerator.
- Add the vanilla and honey (if using) to the yogurt and mix until well combined. Cover and place the glass bowl back in the refrigerator or divide the yogurt among airtight glass jars.


