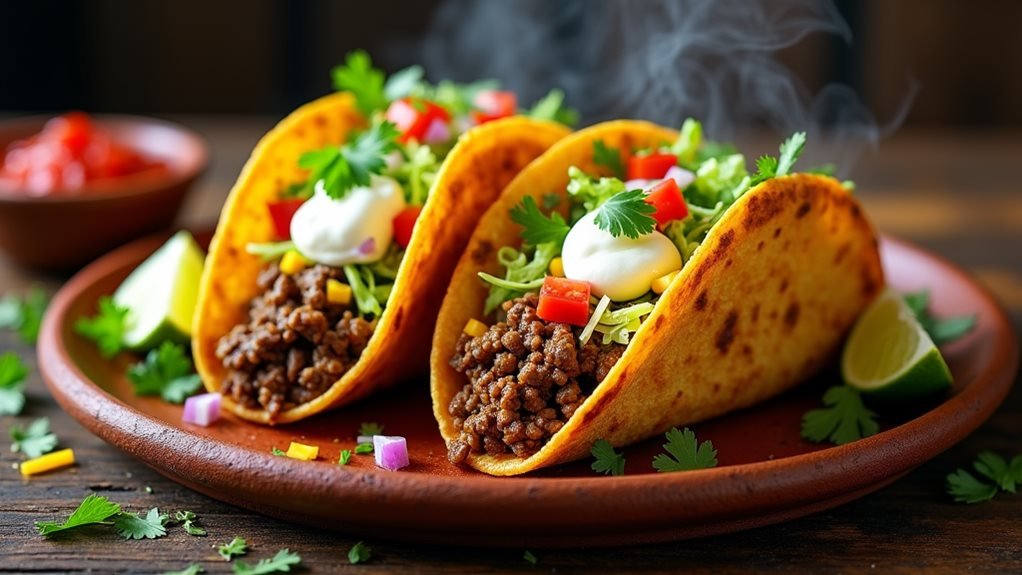
When you visit popular food trucks in Mexico City, you'll often find locals lining up for traditional tacos dorados – crispy fried tacos that snap with each satisfying bite. Today's air fryer version brings that same authentic crunch to your kitchen, but with a healthier twist and less mess. You'll uncover how a few simple ingredients and modern technology can transform ordinary ground beef and tortillas into restaurant-worthy tacos, complete with a vibrant homemade salsa that'll make you forget about store-bought versions. Let's delve into how to create these crowd-pleasing tacos that might just become your new weeknight favorite.
History
Tracing the evolution of air fryer tacos reveals a modern twist on traditional Mexican street food. While authentic tacos have been a cherished part of Mexican cuisine for centuries, you'll find that air fryer versions emerged alongside the rising popularity of these versatile countertop appliances in the 2010s.
The adaptation of taco preparation to air fryers represents a noteworthy shift in home cooking techniques. You're now able to achieve the coveted crispy texture that was once exclusive to deep-fried versions, but with a considerably lower amount of oil. This innovation has transformed how you can recreate the beloved street food experience in your own kitchen, making it more accessible and healthier.
Traditional taco vendors, or taqueros, have long used flat-top grills and deep fryers to create their signature dishes. Today's air fryer method honors these time-tested techniques while incorporating modern technology. You'll notice that the air fryer's rapid air circulation mimics the intense heat of traditional cooking methods, allowing you to maintain the authentic taste and texture that's made tacos a global favorite. Much like gentle mashing technique prevents potatoes from becoming sticky, careful handling of taco ingredients ensures the best texture and results.
Recipe
Air fryer beef tacos bring the genuine taste of street-style Mexican cuisine right to your kitchen. The combination of seasoned ground beef, crispy corn tortillas, and fresh toppings creates a perfect balance of textures and flavors that will satisfy any taco craving.
This quick and simple recipe transforms basic ingredients into a memorable meal in just 20 minutes. The air fryer guarantees each tortilla achieves the ideal crispiness while keeping the beef filling moist and flavorful, delivering restaurant-quality results with minimal cleanup.
Following the attentive stirring technique popularized by Gordon Ramsay can help achieve the perfect consistency when preparing rice-based Mexican dishes as well.
- 1 pound ground beef (80/20)
- 12 corn tortillas
- 2 tablespoons taco seasoning
- 1 diced onion
- 2 cloves minced garlic
- 1 cup shredded lettuce
- 1 cup diced tomatoes
- 1 cup shredded cheese
- 1/2 cup sour cream
- 1 lime, cut into wedges
- Cooking spray
- Salt and pepper to taste
Brown the ground beef with onions and garlic in a skillet over medium heat for 5-7 minutes, then add taco seasoning and cook for an additional 2 minutes. Lightly coat both sides of the corn tortillas with cooking spray and place them in the air fryer basket. Cook at 400°F for 2 minutes, then add the seasoned beef and fold the tortillas. Continue cooking for another 2-3 minutes until the shells are crispy and golden brown. Top with lettuce, tomatoes, cheese, and sour cream, serving immediately with lime wedges.
For optimal results, avoid overcrowding the air fryer basket and work in batches if necessary. Keep the cooked tacos warm in a low-temperature oven while preparing the remaining batches. If the tortillas start to crack when folding, warm them slightly in the microwave for 10-15 seconds before air frying. Store any leftover beef filling in an airtight container for up to three days in the refrigerator.
Cooking Steps
You'll start by seasoning your ground beef with your favorite taco spices and preheating your air fryer to 375°F.
While the air fryer heats up, warm your tortillas until they're pliable enough to fold without breaking, then fill each shell with your seasoned beef mixture.
Ultimately, place your filled tacos in the air fryer basket and cook them for 5-7 minutes, or until the shells turn golden brown and crispy.
step 1. Season Ground Beef Thoroughly
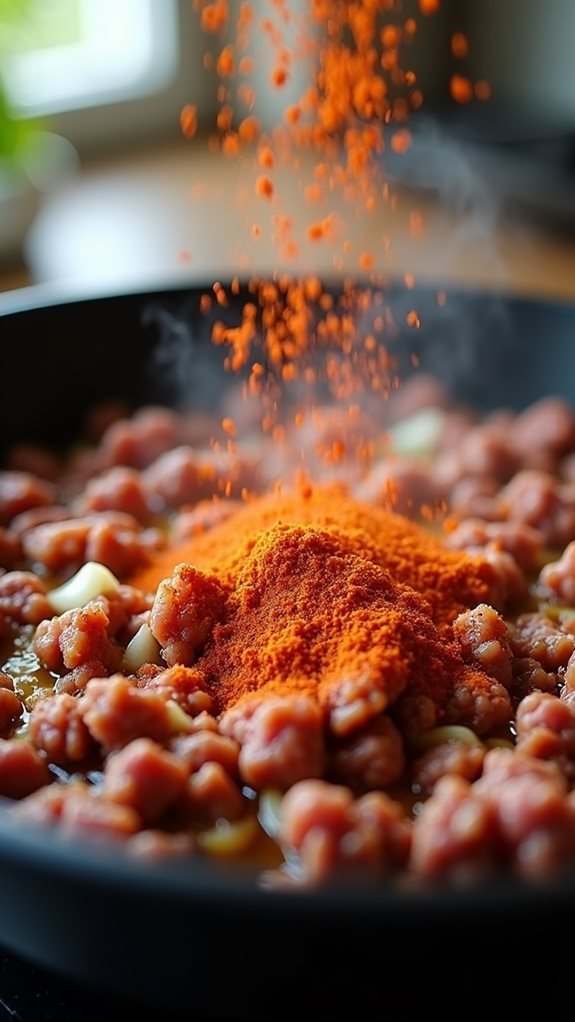
For the perfect taco filling, season your ground beef thoroughly with a blend of chili powder, ground cumin, garlic powder, and salt. You'll want to mix these spices evenly throughout the meat before cooking to make sure each bite delivers consistent flavor. Start with 2 tablespoons of chili powder and 1 tablespoon each of cumin and garlic powder per pound of beef, adjusting to your taste preferences.
Break up the ground beef into small, uniform pieces as you add the seasonings, which allows for better distribution and more even cooking in the air fryer.
Don't forget to include 1 teaspoon of salt and ½ teaspoon of black pepper to enrich the overall flavor profile. If you're looking to add more depth, incorporate ½ teaspoon of oregano and a dash of smoked paprika.
Let the seasoned meat rest for 5-10 minutes before cooking, allowing the spices to permeate the beef thoroughly. This resting period makes a noticeable difference in the final product, creating that authentic taco stand flavor that'll have your guests coming back for another serving.
step 2. Preheat Air Fryer
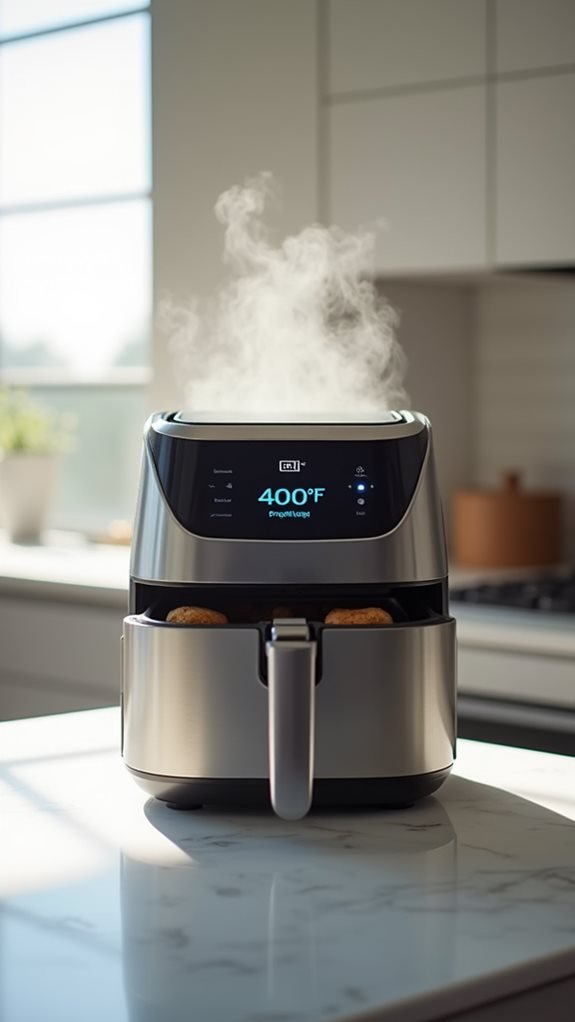
Proper preheating delivers consistently crispy tacos every time. Just as you'd warm up your conventional oven, your air fryer needs those pivotal few minutes to reach the ideal cooking temperature. Set your air fryer to 380°F (193°C) and let it run empty for 3-5 minutes before adding your prepared tacos.
While you're waiting for the air fryer to preheat, you'll notice the unit's internal temperature rising steadily. This preheating step guarantees that your taco shells will start crisping immediately upon contact with the hot circulating air.
You'll want to listen for the unit's indicator sound, if it has one, signaling it's reached the target temperature. If your model doesn't have this feature, simply wait the full 5 minutes.
Don't skip this necessary step, as placing tacos in a cold air fryer will result in unevenly cooked shells and potentially soggy bottoms. The preheated environment creates that perfect balance of crispy exterior while keeping your seasoned beef filling hot and juicy.
step 3. Heat Tortillas Until Pliable
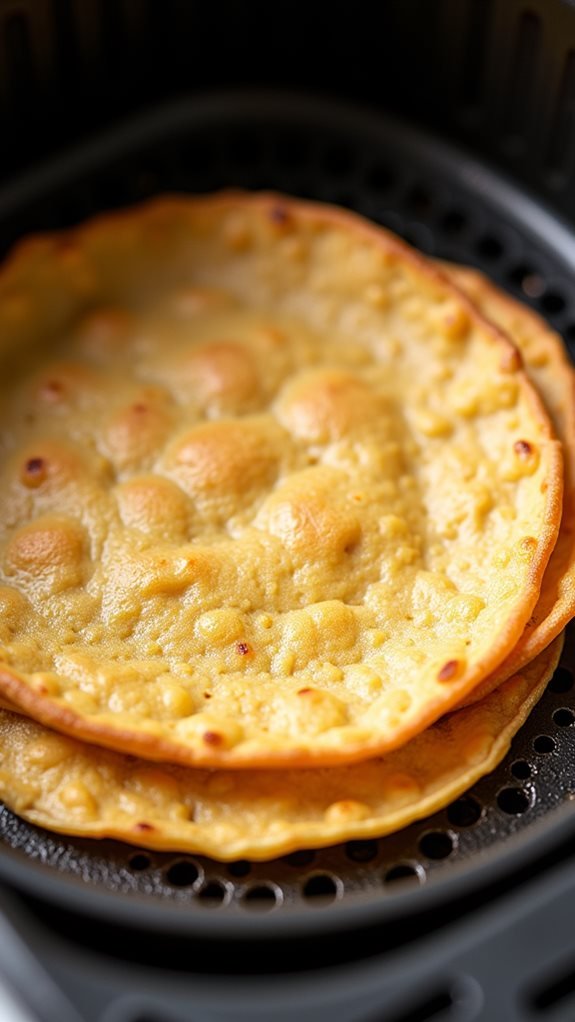
Before assembling your tacos, warming the corn tortillas until they reach best flexibility prevents cracking and ensures they'll fold without breaking. You'll want to wrap your stack of tortillas in slightly damp paper towels, which helps create steam and guarantees even heating throughout each tortilla.
Place your wrapped tortillas in the microwave for 30-45 moments, checking their pliability at 15 intervals. They're ready when they're warm and flexible enough to fold without resistance. If you're working with a larger batch, you can heat them in smaller stacks of 4-6 tortillas at a time.
Alternatively, you can warm them directly in your air fryer for 30 moments at 350°F, though you'll need to work in smaller batches.
Keep your warmed tortillas covered with a clean kitchen towel while you work to maintain their temperature and flexibility. This step is essential for achieving that perfect taco shape when you're ready to load them into your air fryer. Don't skip this preparation step, as cold tortillas are prone to splitting and can compromise your final result.
step 4. Fill Shells With Beef
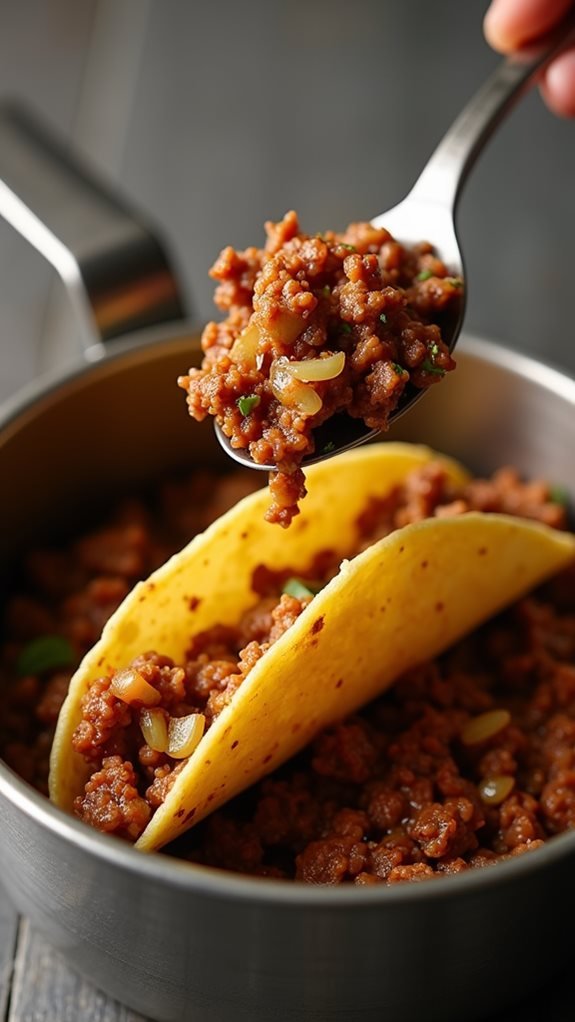
With your tortillas now perfectly warmed and pliable, it's time to fill them with the seasoned beef mixture. Working quickly to maintain their warmth, place approximately 2-3 tablespoons of seasoned ground beef along the center of each tortilla, creating an even distribution from end to end. Don't overfill the shells, as this can lead to difficult folding and messy eating.
Once you've added the beef, fold each tortilla in half to create a classic taco shape. The warm, flexible tortillas should easily bend without breaking, allowing you to form a secure pocket for the filling. Press down gently along the fold to help the tortilla maintain its shape during the air frying process.
If you're preparing multiple tacos, arrange them in a single layer as you work, ensuring they don't overlap. This attention to detail during the filling process will result in perfectly proportioned tacos that are easy to handle and make sure each bite contains an ideal balance of crispy shell and flavorful beef.
step 5. Air Fry Until Crispy
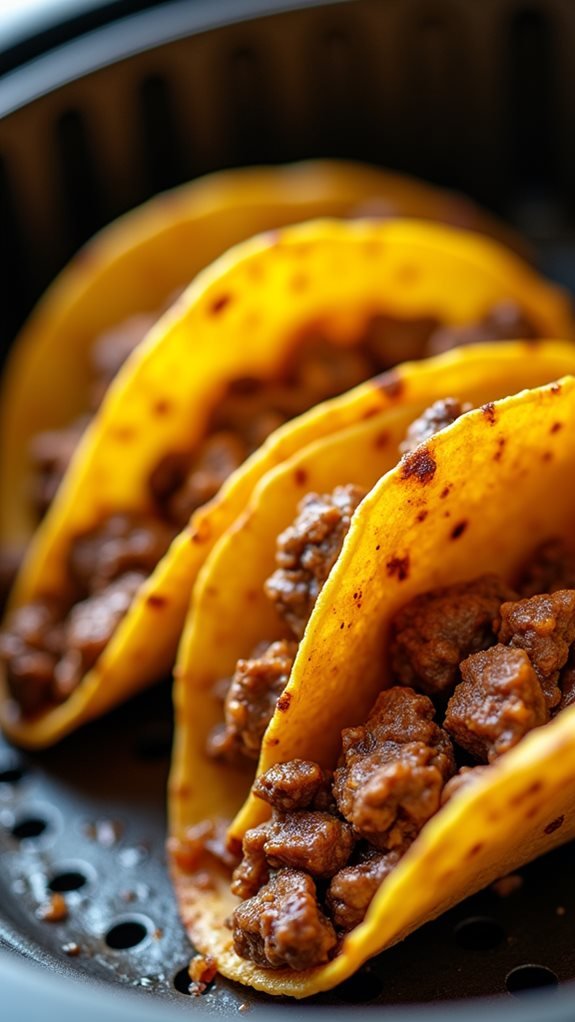
Place your filled tacos into the air fryer basket in a single layer, leaving enough space between each one for proper air circulation. Set the temperature to 375°F and close the basket carefully to avoid any filling from spilling out. You'll want to cook these for 5-7 minutes until the shells become golden brown and crispy.
During the cooking process, you don't need to flip the tacos, as the air fryer's airflow will guarantee even crisping. However, keep an eye on them after the 4-minute mark, as cooking times may vary depending on your air fryer model.
You'll know they're done when the tortilla shells have developed a satisfying crunch and the edges have turned a deep golden color.
Once they're perfectly crispy, remove the tacos using tongs, being cautious as they'll be quite hot. Let them rest for about 30 seconds before serving – this brief pause allows the shells to achieve their maximum crispiness and gives the filling time to settle.
If you're cooking multiple batches, keep the finished tacos warm in a low-temperature oven until you're ready to serve.
Common Questions About This Recipe
Many home cooks ask similar questions when making air fryer beef tacos for the initial time. Common concerns include whether corn or flour tortillas work better, how to prevent the shells from flying around in the air fryer, and the ideal temperature setting for best results.
For tortilla choice, both options work well, though corn tortillas typically achieve a crispier texture. To keep tortillas in place, you'll want to fold them slightly and position them between the air fryer rack grates.
The ideal temperature setting is 400°F (204°C) for 3-4 minutes, which creates the perfect balance of crispiness without burning.
You might also wonder about reheating leftovers. Simply return them to the air fryer for 1-2 minutes at 350°F (177°C). For meal prep, you can prepare the seasoned beef mixture ahead of time and store it in the refrigerator for up to three days.
When serving a crowd, work in batches to maintain proper air circulation, ensuring each taco achieves that signature crispy exterior while keeping the filling warm.
Final Thoughts and Serving Ideas
These air fryer beef tacos offer endless serving possibilities to create a memorable meal. You'll find that setting up a DIY taco bar allows guests to customize their experience, mixing and matching toppings to suit their taste preferences. Consider offering classic garnishes like diced onions, fresh cilantro, and lime wedges alongside more unique options such as pickled jalapeños, radish slices, or crumbled cotija cheese.
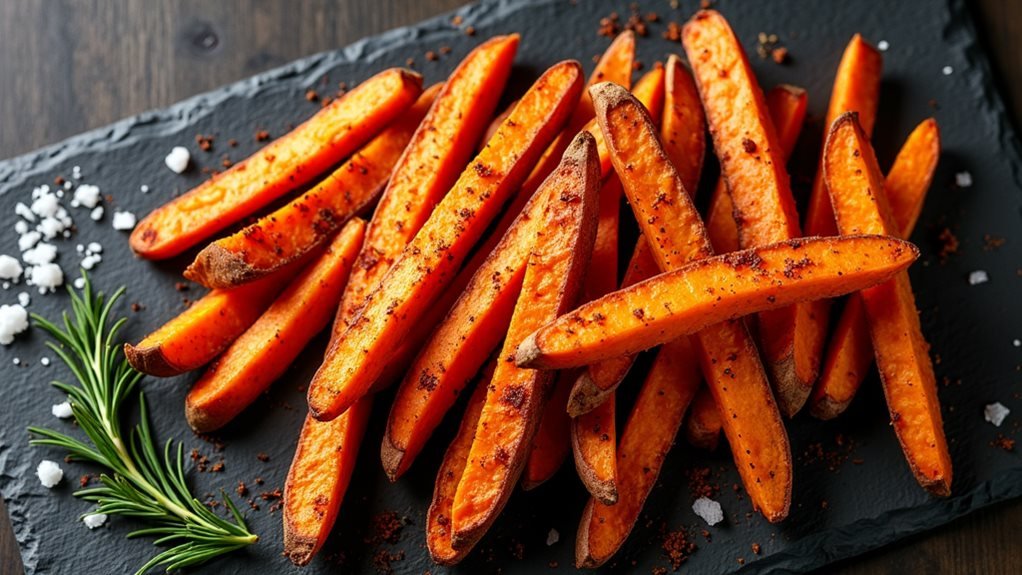
For a complete dining experience, you can serve these tacos with traditional Mexican side dishes. Spanish rice, refried beans, or Mexican street corn complement the crispy shells and seasoned beef perfectly. Don't forget to include a variety of salsas and sauces, from mild tomatillo verde to spicy chipotle crema. You can also prepare guacamole and different types of pico de gallo in advance.
To enhance the presentation, serve your tacos on colorful platters with small bowls for each topping. Consider adding Mexican-inspired beverages like horchata or agua fresca to round out the meal. Remember to keep the shells warm in the air fryer until serving time for the best texture and taste.
