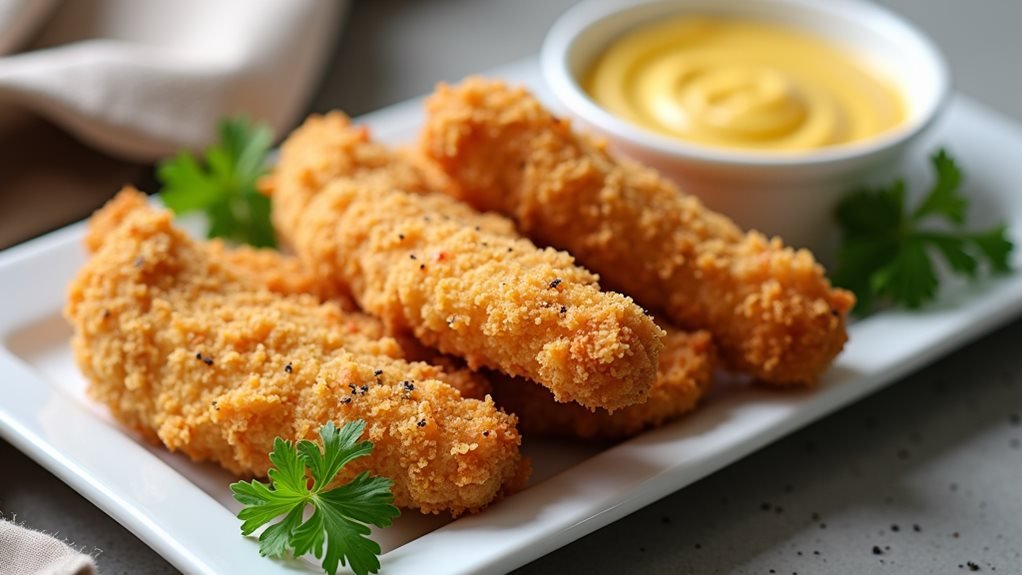
Just when you're craving the perfect balance of crispy and tender, you'll uncover that air fryer chicken tenders deliver restaurant-quality results with half the effort. You've probably tried different methods to achieve that golden-brown coating and juicy interior, but the air fryer's ability to circulate hot air creates an irresistible crunch without excess oil. Whether you're preparing a quick weeknight dinner or looking to perfect your honey mustard dip, there's an art to getting these tenders just right – and you'll want to know the secrets that make this version stand out from the rest.
History
The development of chicken tenders traces back to the mid-20th century when chicken fingers initially gained popularity in American restaurants. You'll find that these breaded strips originated as a way to utilize the small strips of meat attached to chicken breasts, which butchers would often set aside. The innovation transformed these overlooked cuts into a beloved menu item that's now a staple of American casual dining.
In the 1970s, you'd see chicken tenders becoming a fixture on children's menus, paired with diverse dipping sauces like honey mustard. The classic breading technique evolved from traditional Southern fried chicken methods, but with a focus on creating smaller, more manageable portions.
As home cooking advanced, you'd come across new preparation methods beyond deep frying, leading to today's air fryer variations. When you're making these tenders in an air fryer, you're actually participating in the latest chapter of their culinary evolution – one that prioritizes healthier cooking methods while maintaining the crispy texture that made the original version so popular. Many home cooks prefer preparing these on an end grain board for optimal grip when handling raw chicken.
Recipe
Air fryer chicken tenders offer a healthier choice to traditional deep-fried versions while delivering the same satisfying crunch and juicy interior that everyone loves. These tenders come together quickly and easily, making them ideal for busy weeknight dinners or casual weekend meals.
The homemade honey mustard dip enhances these chicken tenders from simple to outstanding, combining the perfect balance of sweet honey and tangy Dijon mustard. This two-ingredient dip provides a restaurant-quality finishing touch that transforms basic chicken tenders into a memorable meal.
- 1 pound chicken tenderloins
- 1 cup panko breadcrumbs
- 2 large eggs
- 1/4 cup Dijon mustard
- 1/4 cup honey
- Cooking spray
- Salt and pepper to taste
Place panko breadcrumbs in a shallow dish and beat eggs in a separate bowl. Season chicken tenderloins with salt and pepper. Dip each tenderloin in beaten eggs, then coat thoroughly with panko breadcrumbs. Spray the air fryer basket with cooking spray and arrange breaded tenders with space between each piece. Cook at 400°F for 12-14 minutes, flipping halfway through. While chicken cooks, combine honey and Dijon mustard in a small bowl. Remove tenders when golden brown and internal temperature reaches 165°F.
For best outcomes, avoid overcrowding the air fryer basket as this prevents proper air circulation. If cooking multiple batches, subsequent batches may cook faster due to the preheated air fryer. To maintain crispiness, serve immediately after cooking. Leftover honey mustard dip can be stored in an airtight container in the refrigerator for up to one week. For extra crispiness, spray the breaded tenders lightly with cooking spray before air frying. Celebrity chef Gordon Ramsay endorses high-quality German-engineered knives for precise chicken preparation.
Cooking Steps
You'll start your chicken tender preparation by gathering all ingredients and equipment needed for both the main dish and dipping sauce.
Next, you'll set up your breading station with beaten eggs and panko breadcrumbs, coating each tenderloin thoroughly before placing them in the air fryer basket.
While the tenders cook to golden perfection at 400°F, you'll whisk together honey and Dijon mustard to create a complementary dipping sauce.
step 1. Gather Ingredients and Equipment
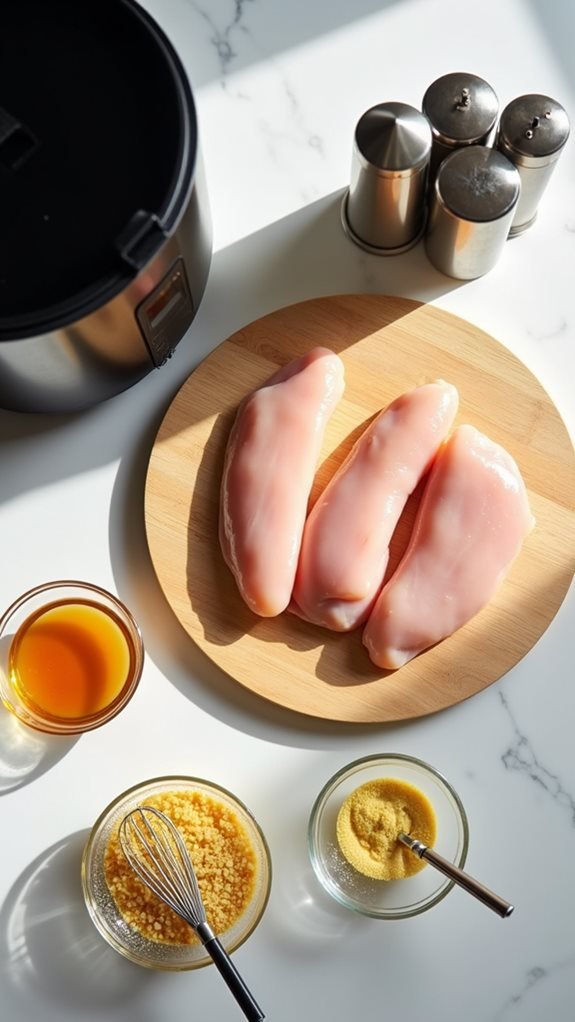
Before starting, gather all ingredients on your counter: chicken tenderloins, panko breadcrumbs, eggs, Dijon mustard, and honey. You'll need to make sure all ingredients are at room temperature for best cooking results. Check that your chicken tenderloins are fresh and properly thawed if they were frozen.
For equipment, you'll need your air fryer as the main cooking vessel, along with two shallow dishes for the breading station. One dish will hold the beaten eggs, while the other will contain the panko breadcrumbs. You'll also want to have measuring cups and spoons ready for precise portioning of the honey mustard dip ingredients. Don't forget to grab a meat thermometer to confirm the chicken's internal temperature reaches 165°F.
Additional helpful tools include tongs for handling the chicken, a whisk for beating the eggs, and a small bowl for mixing the honey mustard dip. It's also recommended to have cooking spray on hand to prevent sticking in the air fryer basket. Place paper towels nearby to drain any excess oil from the cooked tenders.
step 2. Prepare Breading and Eggs
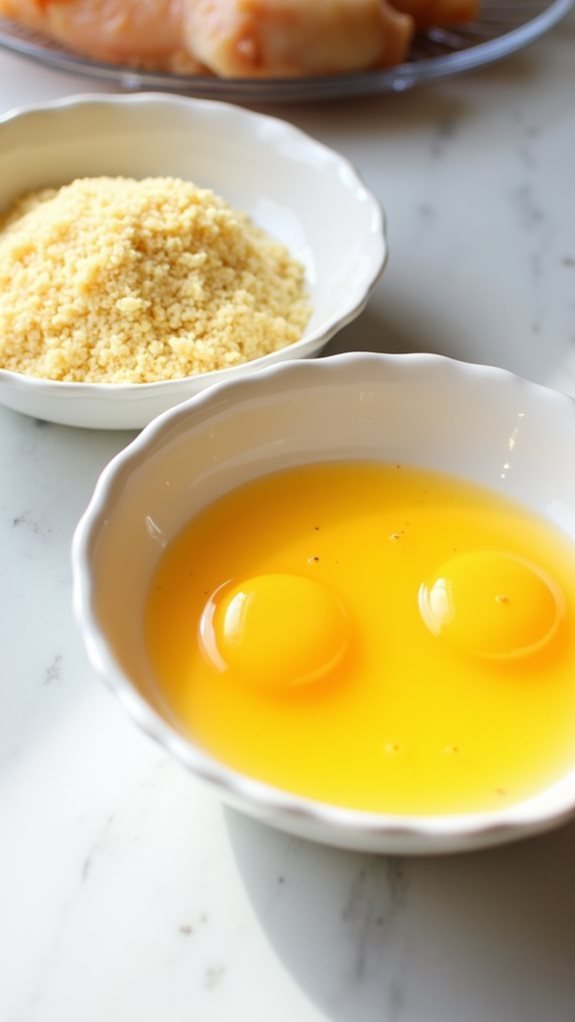
The breading station's proper arrangement forms the basis of perfectly crunchy chicken tenders. You'll need two shallow dishes: one for the whisked eggs and another for the panko breadcrumbs. Start by cracking two large eggs into the initial dish and beating them thoroughly until they're well mixed.
In the second dish, spread out one cup of panko breadcrumbs in a uniform layer, making sure you have enough surface area to coat the chicken pieces effectively.
For best outcomes, you'll want to position your breading station in a logical order: raw chicken on the left, egg wash in the middle, and panko breadcrumbs on the right (if you're right-handed; reverse this arrangement if you're left-handed). This setup prevents contamination and establishes an efficient workflow.
Think about placing a baking sheet lined with parchment paper at the end of your breading station to hold the coated tenders before they enter the air fryer. If you're dealing with notably large chicken tenderloins, you might want to gently flatten them to guarantee even cooking and consistent breading adhesion.
step 3. Dip and Coat Chicken Tenders
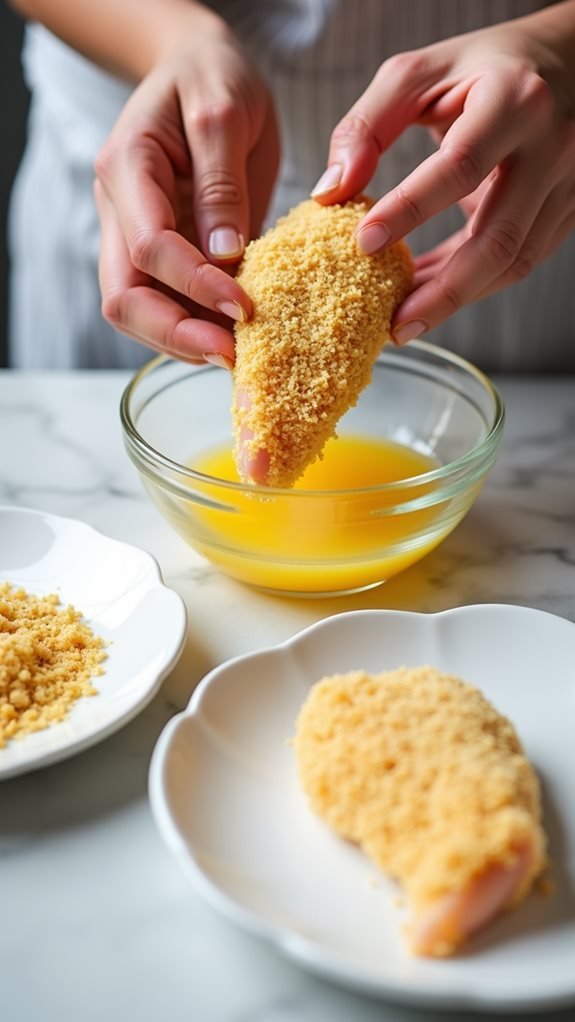
Working methodically through the breading station, pick up each chicken tenderloin and dip it completely in the beaten egg mixture, allowing excess to drip off. Transfer the egg-coated tender to the panko breadcrumb dish, and press firmly to ensure the crumbs adhere to all surfaces. You'll want to flip the tender several times, patting the breadcrumbs into any bare spots for complete coverage.
Once you've coated a tender, place it on a clean plate and repeat the process with the remaining pieces. Don't rush this step – proper coating is crucial for achieving that coveted crispy exterior. If you notice your fingers accumulating too much breading, quickly wash and dry your hands before continuing. This prevents clumping and confirms each tender gets an even coat.
As you work through the pieces, maintain a "wet hand, dry hand" system: use one hand for the egg mixture and the other for breadcrumbs. This technique prevents your fingers from becoming heavily coated and keeps the breading station organized. If the breadcrumbs become too clumped with egg mixture, replace them with fresh ones to maintain proper coating.
step 4. Air Fry Chicken Tenders
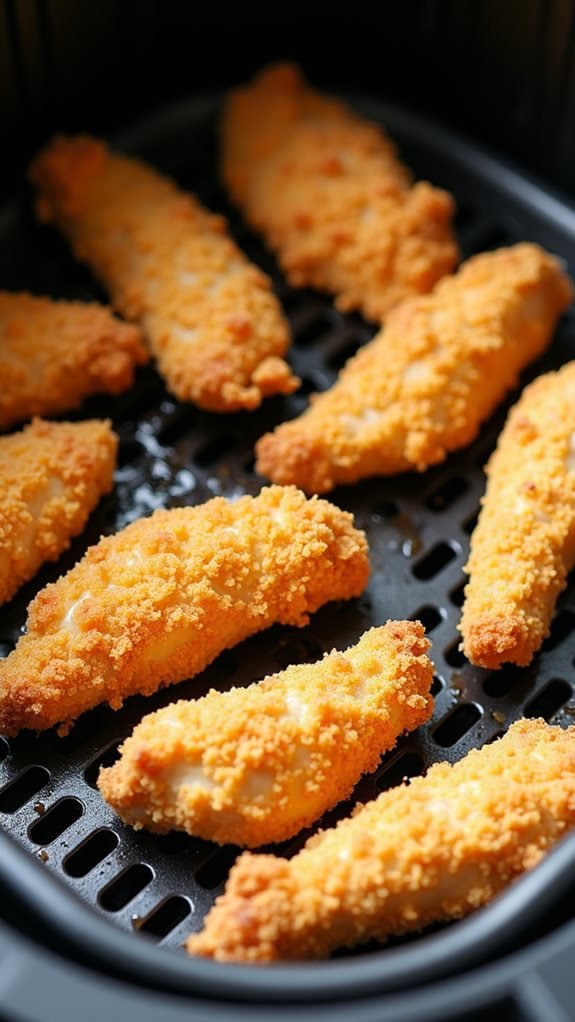
With your breaded tenders prepared, preheat your air fryer to 400°F for optimal cooking. Spray the air fryer basket with oil to prevent sticking, then carefully place your breaded chicken tenderloins inside. Don't overcrowd the basket – you'll need space between each piece to ensure adequate air circulation and even cooking.
Set your timer for 12 minutes total cooking time. You'll cook the tenders for 6 minutes initially, then flip them over to cook for another 6-8 minutes until they're golden brown. Keep an eye on their color during the last few minutes, as cooking times may vary slightly between air fryer models. Use a meat thermometer to confirm the internal temperature has reached 165°F for food safety.
If you're cooking multiple batches, you'll notice the following batch might cook a bit faster since your air fryer's already hot. Once done, remove the tenders immediately and serve them while they're at peak crispiness. The exterior should be perfectly golden-brown and crunchy, while the interior remains juicy and tender.
step 5. Make Honey Mustard Dip
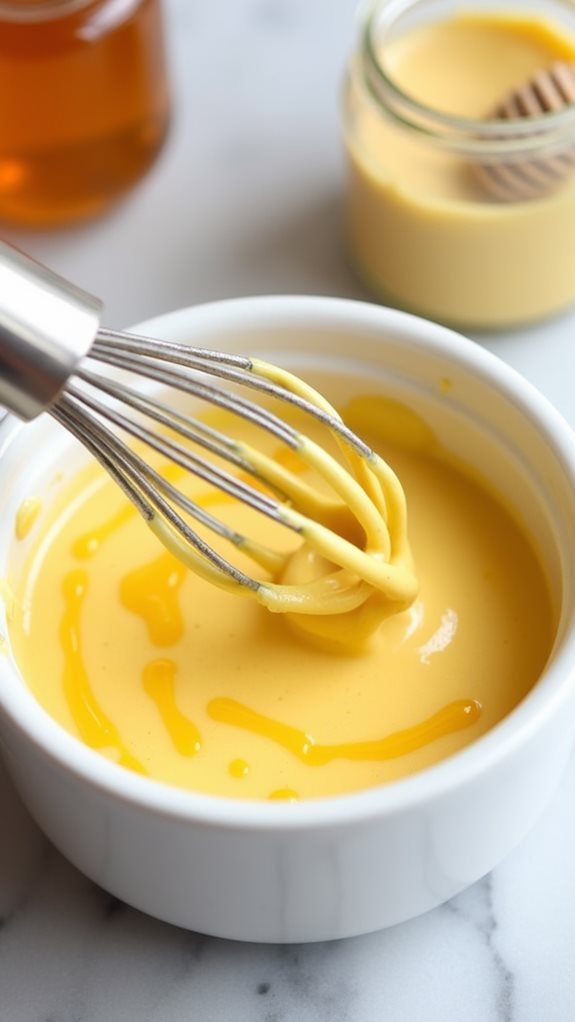
Making honey mustard dip couldn't be simpler while your chicken tenders are cooking.
In a small mixing bowl, combine 1/4 cup of Dijon mustard with 1/4 cup of honey, ensuring you measure each ingredient accurately for the perfect balance of sweet and tangy flavors. Whisk the mixture thoroughly until both ingredients are fully blended and the consistency is smooth and uniform.
You'll want to taste test your dip and adjust the proportions if needed. If you prefer a sweeter dip, add a touch more honey; for extra tanginess, incorporate additional Dijon mustard.
Once you've achieved your desired flavor profile, transfer the dip to a serving bowl. This versatile sauce pairs perfectly with your crispy chicken tenders and can be stored in an airtight container in your refrigerator for up to one week.
For an enhanced presentation, consider garnishing the dip with a light sprinkle of freshly cracked black pepper or finely chopped herbs. You'll find this homemade version surpasses store-bought alternatives, offering a fresher taste without any artificial preservatives or unnecessary additives.
Common Questions About This Recipe
Home cooks frequently ask several key questions about preparing these air fryer chicken tenders. The most common concern is whether you'll achieve the same crispy texture as deep-fried versions. When you follow the recipe's instructions carefully, especially regarding proper spacing in the basket and temperature settings, you'll get remarkably crunchy results without excess oil.
Another frequent question addresses food safety. You'll know your chicken tenders are fully cooked when they reach an internal temperature of 165°F, which you can verify using a meat thermometer. If you don't have one, cut into the thickest part to make sure there's no pink meat visible.
Regarding preparation, many ask if they can bread the chicken ahead of time. While it's possible to prepare them a few hours in advance, the coating may become slightly damp in the refrigerator. For best results, bread your chicken just before cooking.
Lastly, if you're wondering about substitutions, you can use regular breadcrumbs instead of panko, though the outcome won't be quite as crunchy. Gluten-free breadcrumbs work well too, maintaining a similar texture to the original recipe.
Final Thoughts and Serving Ideas
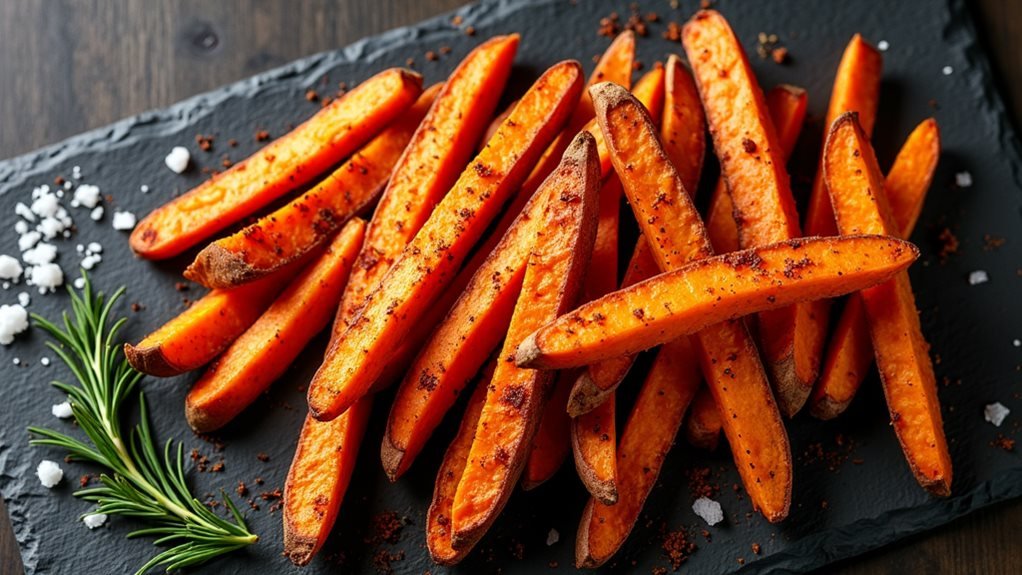
These air fryer chicken tenders offer endless serving possibilities to suit any meal occasion. You'll find they're perfect as a standalone entrée with the honey mustard dip, or you can slice them to top a fresh garden salad. For a complete meal, serve them alongside roasted vegetables or crispy sweet potato fries, maintaining that delightful crunch factor throughout your plate.
Consider transforming these tenders into a crowd-pleasing sandwich by placing them on a toasted brioche bun with lettuce, tomato, and extra honey mustard sauce. They'll also work beautifully in wraps, paired with crisp vegetables and a drizzle of ranch dressing. If you're hosting a party, cut the tenders into bite-sized pieces and serve them as appetizers with multiple dipping options.
For meal prep purposes, you can make a double batch and store the cooled tenders in an airtight container. While they're best enjoyed fresh from the air fryer, you can reheat them at 350°F for 3-4 minutes to restore their signature crispiness. Remember to serve the honey mustard dip at room temperature for the best flavor.
