Studies indicate that Americans consume around 2.2 billion grilled cheese sandwiches yearly, but you've never experienced one quite like this. By harnessing your air fryer's swift air circulation technology, you'll convert average bread and cheese into a golden masterpiece with flawlessly crunchy edges and a molten center. While traditional stovetop techniques are still favored, this contemporary twist enhances the modest sandwich with exact temperature control and uniform browning – all while reducing added fats. If you're prepared to transform this comfort food staple, there's a lot more to explore about this inventive preparation approach.
History
The beloved grilled cheese sandwich dates back to ancient Rome, but its air fryer transformation represents the latest progression in this comfort food's development. While Romans enjoyed combining bread and cheese, it wasn't until the 1920s that you'd recognize the modern grilled cheese, thanks to the widespread availability of sliced bread and processed cheese. During the Great Depression, these sandwiches became a staple of American cuisine, offering an affordable and filling meal for struggling families.
In the decades that followed, you'll find that grilled cheese preparation methods evolved from open-faced broiling to stovetop grilling. The introduction of non-stick pans in the 1960s made preparation easier, while the microwave oven of the 1970s offered a quick but less satisfying alternative.
Today's air fryer technology has transformed how you can prepare this classic sandwich, combining the convenience of modern appliances with traditional cooking results. The air fryer's circulation system replicates the even browning of a griddle while maintaining the sandwich's beloved characteristics, proving that even centuries-old recipes can benefit from technological advancement. Using the Philips Airfryer XXL, you can achieve perfectly crispy results while reducing oil usage by up to 75% compared to traditional cooking methods.
Recipe
This quick and easy air fryer grilled cheese sandwich delivers the perfect combination of crispy exterior and gooey melted cheese interior. The high-speed air circulation creates an evenly golden-brown crust while efficiently melting the cheese, resulting in that classic comfort food experience in less time than traditional stovetop methods.
The blend of sharp cheddar and creamy mozzarella creates a complex flavor profile, while a touch of garlic powder adds subtle depth to this beloved sandwich. This modern cooking approach maintains all the nostalgic elements of a classic grilled cheese while ensuring consistent results every time.
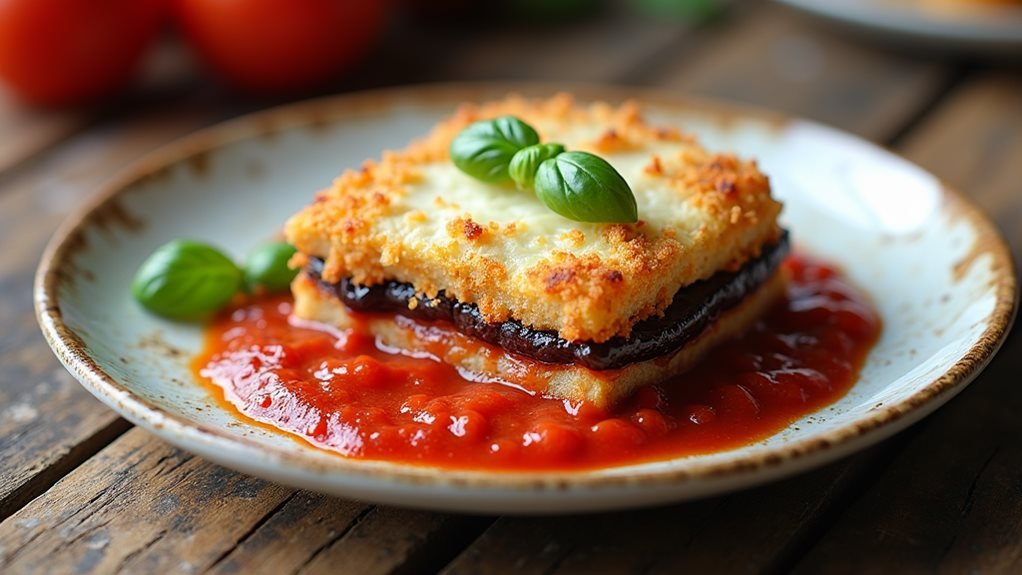
Similar to three-step breading used in classic chicken parmesan, this recipe creates the perfect texture through careful preparation.
- 2 slices white bread
- 1 tablespoon butter, softened
- 2 slices cheddar cheese
- 1 slice mozzarella cheese
- 1/4 teaspoon garlic powder
Spread softened butter evenly on one side of each bread slice. Place one slice butter-side down in the air fryer basket. Layer the cheddar and mozzarella cheese slices on the bread, then sprinkle with garlic powder. Top with the second slice of bread, butter-side up. Cook at 370°F for 4 minutes, flip the sandwich, and continue cooking for 2-3 minutes until golden brown and cheese is melted through.
For best results, make sure the butter is completely softened before spreading to prevent tearing the bread. Watch the sandwich closely during the final minutes of cooking, as browning can happen quickly in an air fryer. Let the sandwich rest for one minute before cutting to allow the cheese to set slightly. If your bread is browning too quickly before the cheese melts fully, reduce the temperature to 350°F and add short intervals of cooking time until desired doneness is achieved.
Cooking Steps
You'll start by evenly spreading softened butter on one side of each bread slice, then layering your cheddar and mozzarella cheeses between the slices with a light dusting of garlic powder.
Place your assembled sandwich in the preheated air fryer at 370°F, butter side down, and let it cook for 4 minutes.
After the initial cooking time, flip your sandwich and continue cooking for 2-3 minutes until you've achieved a golden-brown exterior with perfectly melted cheese inside.
step 1. Butter Bread Slices Evenly

Preparing your sandwich's base begins with evenly spreading softened margarine across one side of each bread slice. You'll want to guarantee complete coverage from edge to edge, as any unbuttered areas won't achieve that perfect golden-brown exterior. Let your margarine soften naturally at room temperature for about 30 minutes before spreading to achieve the ideal consistency.
Using a butter knife or small spatula, apply gentle pressure as you spread the margarine in smooth, even strokes. Don't rush this step – proper coverage is vital for achieving that crispy, uniform finish in the air fryer. If you notice any bare spots, add a small amount of additional margarine to those areas.
The margarine should form a thin, consistent layer that's neither too thick nor too sparse. You'll know you've achieved the right amount when the bread has a slight sheen but isn't saturated. Keep in mind that the margarine serves two crucial purposes: it promotes even browning and adds that rich, classic flavor that makes grilled cheese sandwiches irresistible.
step 2. Layer Cheese Between Bread Slices

The art of cheese layering demands strategic positioning for optimal melting. You'll want to start with your butter-side-down bread slice as the base, then carefully place your cheese slices to achieve complete coverage from edge to edge.
Position two slices of cheddar initially, slightly overlapping them if necessary to prevent gaps where the bread might be visible.
Afterwards, add your slice of mozzarella on top of the cheddar. This pairing isn't haphazard – the cheddar offers sharp, intense flavor while the mozzarella provides that visually appealing cheese stretch you desire.
Before placing your top slice of bread, remember to evenly sprinkle the garlic powder across the cheese surface. This seasoning will blend into the cheese as it melts, enhancing the overall flavor of your sandwich.
step 3. Add Garlic Powder Dusting
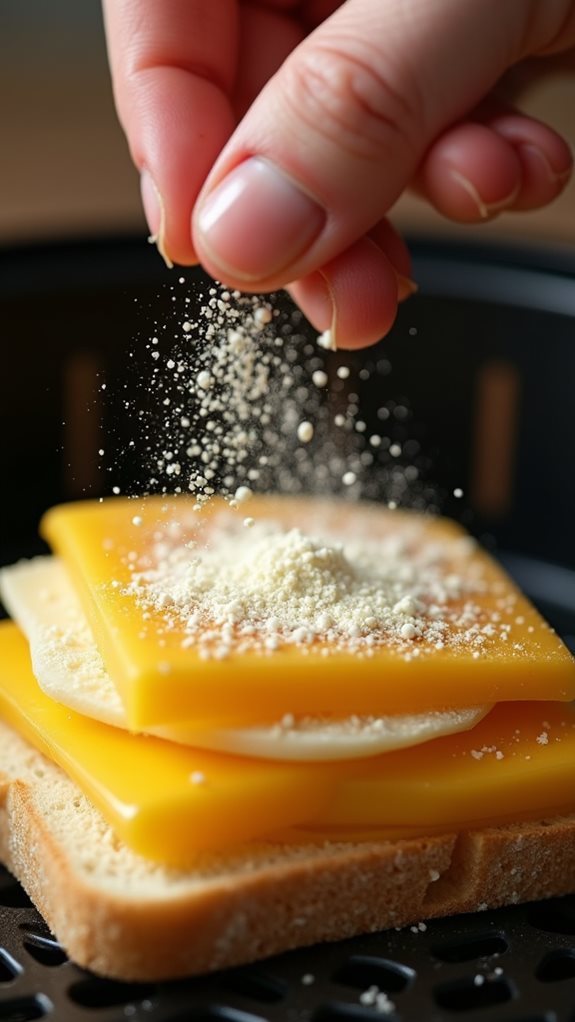
A delicate dusting of garlic powder creates an aromatic layer between the stacked cheeses. You'll want to sprinkle approximately 1/4 teaspoon of garlic powder evenly across the surface of your layered cheese slices, guaranteeing complete coverage without overseasoning. This subtle addition transforms your standard grilled cheese into a more sophisticated sandwich with a savory depth that'll impress your guests.
Once you've arranged your cheddar and mozzarella slices on the bottom piece of buttered bread, hold the garlic powder shaker about 6 inches above the cheese surface. Using a gentle tapping motion, distribute the powder in a controlled manner, watching for even coverage across the entire sandwich surface. If you notice any spots with too much powder accumulation, use a clean finger to spread it more evenly.
The heat from the air fryer will activate the garlic's aromatic compounds, infusing them into the melting cheese mixture. This technique guarantees that every bite delivers a balanced combination of sharp cheese flavors complemented by gentle garlic undertones.
step 4. Place in Preheated Airfryer
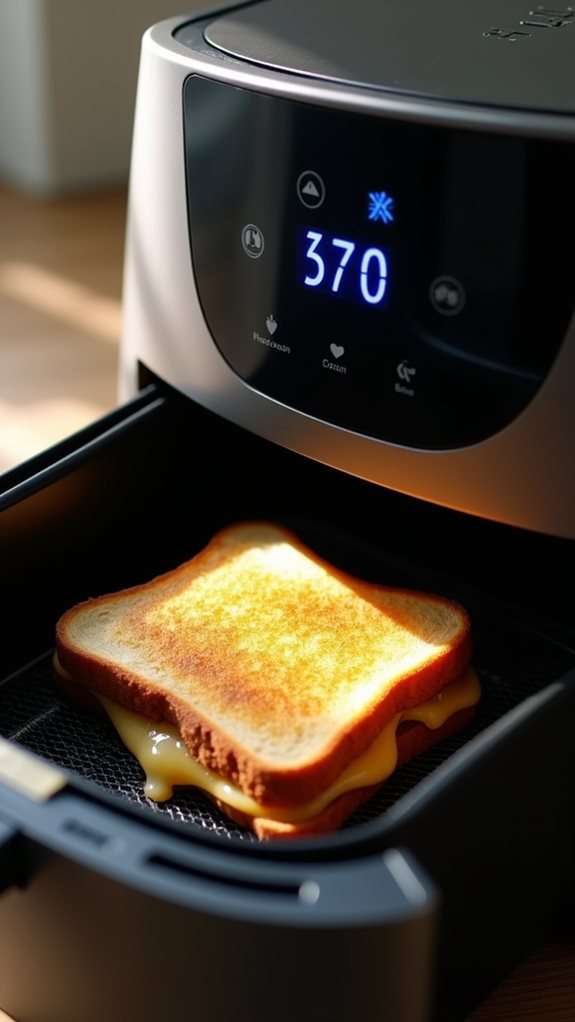
Now that your sandwich is assembled and seasoned, preheating your air fryer to 370°F sets the stage for perfect outcomes. While it's heating, you'll want to guarantee your sandwich fits comfortably in the basket without being compressed against the sides, as this allows for ideal air circulation.
Place your assembled sandwich carefully in the preheated basket, positioning it in the center for even cooking. You'll cook it for 4 minutes on the initial side, allowing the rapid air technology to create that signature golden-brown crust while starting to melt the cheese blend inside.
After the first cooking period, use tongs or a spatula to gently flip the sandwich, then continue cooking for 2-3 minutes until you achieve the desired crispiness.
If you notice the bread browning too quickly but the cheese hasn't fully melted, simply reduce the temperature to 350°F and cook for an additional minute. Remember to let your sandwich rest for 60 seconds after cooking – this vital step allows the melted cheese to set slightly, making it easier to slice and serve without losing the delicious filling.
step 5. Flip and Check Doneness
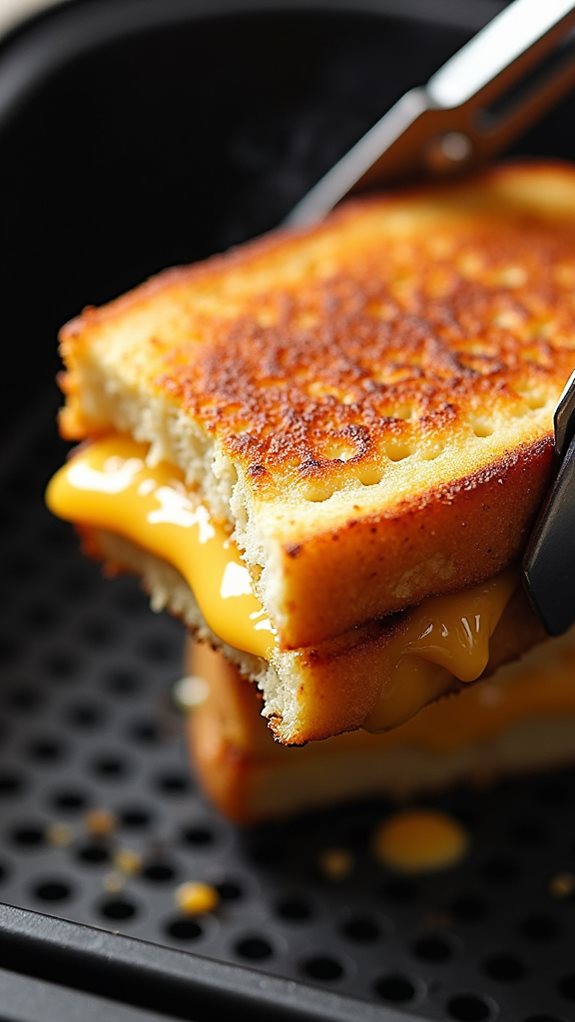
Checking up on your sandwich after the initial 4-minute cooking period is vital for achieving perfect results. Carefully open your air fryer basket and use tongs or a spatula to flip the sandwich, ensuring you don't disturb the melting cheese inside. You'll notice the top side has turned a beautiful golden brown, indicating proper heating distribution.
After flipping, cook for an additional 2-3 minutes while monitoring the browning process. You're looking for an even, golden-brown color on both sides and cheese that's completely melted. If the bread has reached your desired crispiness but the cheese hasn't fully melted, lower the temperature to 350°F and continue cooking for one more minute.
You'll know your sandwich is done when the cheese starts to bubble slightly at the edges and both sides display an even, crispy texture.
Don't skip the essential one-minute resting period after cooking. This allows the melted cheese to set slightly, preventing it from immediately oozing out when you cut the sandwich. The result will be a perfectly structured grilled cheese that maintains its shape when served.
Common Questions About This Recipe
Home cooks frequently ask several key questions when making air fryer grilled cheese for the initial time. You'll often wonder if you need to preheat the air fryer (no, it's not necessary for this recipe), and whether you can use different types of bread (yes, but thicker slices may require longer cooking times).
Many cooks also ask about cheese substitutions – while cheddar and mozzarella create an ideal blend of flavor and melt, you can experiment with other combinations like Swiss and Gouda.
Another common question concerns the butter temperature. You'll achieve better results using room-temperature butter rather than melted, as it prevents the bread from becoming soggy. If you're worried about the cheese not melting completely, you can cover the sandwich with foil for the last minute of cooking.
Cooks also inquire about doubling the recipe – while you can make multiple sandwiches, avoid overcrowding the basket as this prevents proper air circulation. For best results, cook no more than two sandwiches at once, adjusting the cooking time slightly upward to compensate for the increased load.
Final Thoughts and Serving Ideas
This air fryer grilled cheese's versatility makes it a perfect canvas for creative serving ideas and meal pairings. You'll find it pairs wonderfully with classic tomato soup for a comforting lunch, or you can serve it alongside a crisp garden salad for a lighter approach. For an enhanced presentation, ponder cutting the sandwich diagonally and garnishing with fresh herbs like basil or chives.
To transform this sandwich into a complete meal, you've got several options at your disposal. Add a side of pickle spears for a tangy contrast, or serve with a cup of roasted red pepper soup for a sophisticated twist.
If you're hosting a casual gathering, cut the sandwiches into smaller triangles and arrange them on a platter with tomato soup shooters for an appetizer presentation. For a weekend lunch, pair your grilled cheese with a side of sweet potato fries or a light coleslaw. Don't forget to ponder seasonal additions – a cup of butternut squash soup in fall or gazpacho in summer can turn this simple sandwich into a memorable meal.


