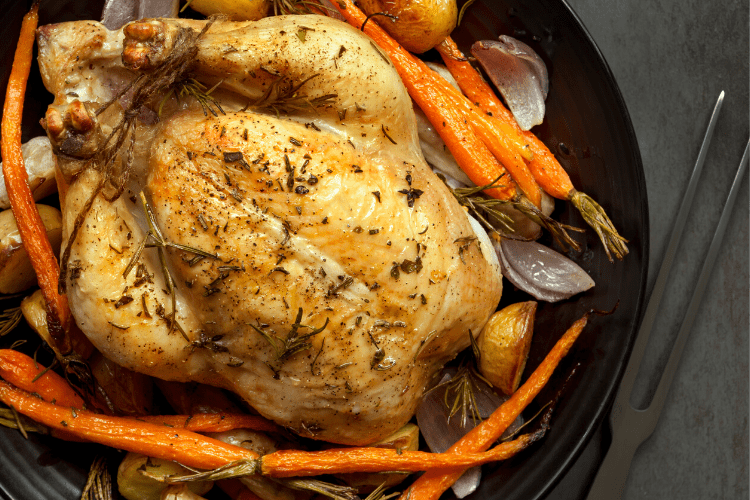
Chicken breasts, oversized plump dumplings, and a lot of vegetables in a sweet gravy make a hot and filling meal. The Ninja Foodi Chicken Dumplings recipe is a perfect example of comfort food at its best. This style of chicken and dumplings has a twist on the traditional because after the base of the soup is made, I add a delightful crunch to each bite by lightly crisping the dumplings.
How to Make Chicken and Dumplings in a Ninja Foodi
Use any chicken you have for this Nina Foodi chicken and dumplings recipe. You can use a blend of chicken breast, wings, thighs, or leg meat or select a single chicken cut. I like using boneless and skinless chicken thighs because they have the best flavor in my option. It is your choice and your preferences.
Step 1. Choose Sear/Sauté and set it to Medium-High. Allow the pot to preheat for 5 minutes. Select Start/Stop to begin.
Step 2. Place the oil and onion in the preheated pot and sauté until the onion is softened, about 3 minutes.
Step 3. Mix celery, carrots, chicken, and broth in the pot—season with thyme and salt. Assemble the Pressure Lid, ensuring the pressure release valve is in the Seal position.
Step 4. Choose Pressure and set it to High. Set the time to 2 minutes, then select Start/Stop to begin.
Step 5. When pressure cooking is complete, quickly release the pressure by moving the pressure release valve to the vent position. Carefully remove the lid when the Pressure has finished releasing.
Step 6. Mix the cream into the soup. Arrange the biscuits in a single layer on top of the soup.
Step 7. Shut the Crisping Lid. Select Broil and set the time to 15 minutes. Select Start/Stop to begin.
Step 8. When cooking is complete, remove the pot from the Ninja Foodi and place it on a heat-resistant surface. Let rest for 10 minutes before serving.
No products found.

Ninja Foodi Chicken and Dumplings
Ingredients
- 1 Tbsp. extra-virgin olive oil
- 1 yellow onion, chopped
- 2 celery stalks, diced
- 2 carrots, diced
- 1 lb. boneless, skinless chicken breasts cut into 1-inch pieces
- 2 C. chicken broth
- 1 tsp. fresh thyme
- ½ tsp. sea salt
- ½ C. heavy (whipping) cream
- 1 pack of 8 raw refrigerated pull-a-part biscuits at room temperature
Instructions
- Select Sear/Sauté and set it to Medium High. Select Start/Stop to begin. Allow the pot to preheat for 5 minutes.
- Put the oil and onion in the preheated pot and sauté until the onion is softened about 3 minutes.
- Add the celery, carrots, chicken, and broth to the pot—season with thyme and salt. Assemble the Pressure Lid, ensuring the pressure release valve is in the Seal position.
- Select Pressure and set it to High. Set the time to 2 minutes, then select Start/Stop to begin.
- When pressure cooking is complete, quickly release the pressure by moving the pressure release valve to the Vent position. Carefully remove the lid when the Pressure has finished releasing.
- Stir the cream into the soup. Arrange the biscuits in a single layer on top of the soup.
- Close the Crisping Lid. Select Broil and set the time to 15 minutes. Select Start/Stop to begin.
- When cooking is complete, remove the pot from the Ninja Foodi and place it on a heat-resistant surface. Let rest for 10 minutes before serving.