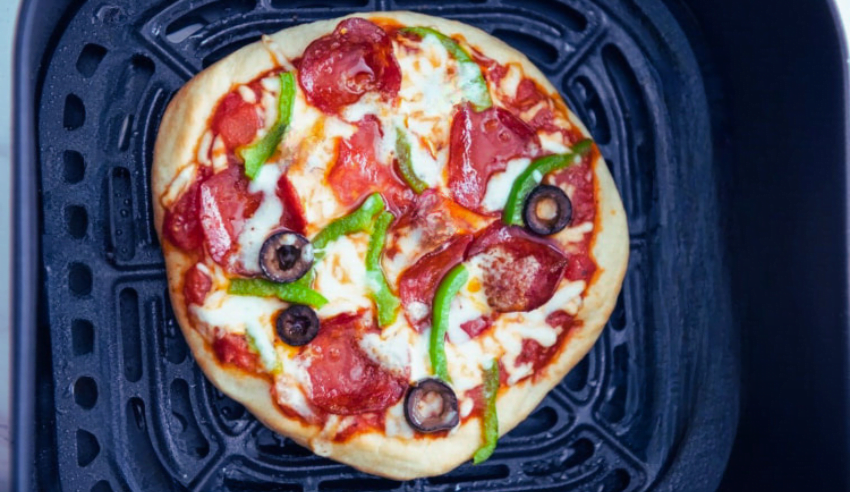
Are you a pasta lover looking for a quick and easy recipe? This Creamy Air Fryer Mac and Cheese recipe is made in your Air Fryer, and you do not have to boil the noodles first. It’s a delicious side dish that can be made in your Air Fryer in about 20 minutes. It is a perfect dish for those busy weeknights when you don’t have much time to cook. This recipe is straightforward and requires no skill.
What is Mac and Cheese?
Mac and cheese is an American staple of macaroni pasta and cheese sauce typically made from butter, flour, milk, and cheese. Mac and cheese were first recorded in the United States in the late 18th century but became popular in stores in the 1930s when Kraft introduced its boxed version. Today, there are many variations of mac and cheese, including baked macaroni and cheese, instant pot mac and cheese, and air fryer mac and cheese.
How to Make Air Fryer Mac and Cheese
First, if using block cheese, which I highly recommend, shred it. I find that block cheese melts much better than the pre-shredded packaged kind. Then combine uncooked elbow macaroni, water, heavy cream, mustard powder, garlic powder, salt, black pepper, and about 3/4ths of the shredded cheese in a 7-inch pan that will fit in your Air Fryer and is deep enough to hold your macaroni. Stir until combined.
Place in your Air Fryer and cook at 360 degrees Fahrenheit for 18-20 minutes, stirring and adding the remainder of the cheese halfway through cooking. Once done, your mac and cheese will look hot, bubbly, and watery. But once you stir, it’ll start to thicken up. And once you let it cool a bit, it’ll thicken up even more, and you’ll have yummy creamy mac and cheese goodness.
According to a recipe from Delish, making mac and cheese in an air fryer allows you to skip boiling the noodles first. Mix the uncooked noodles with the other ingredients and let the air fryer do the work.
Ingredients
- 1 ½ cup elbow macaroni
- 1 cup water
- ½ cup heavy cream
- 8 oz sharp cheddar cheese shredded and separated
- 1 teaspoon dry mustard
- ½ teaspoon kosher salt
- ½ teaspoon black pepper
- 1/4 teaspoon garlic powder
Instructions
- Combine elbow macaroni, water, heavy cream, ¾ of the cheese, dry mustard, kosher salt, black pepper, and garlic powder in a 7-inch pan deep enough to hold all the ingredients. Stir to combine.
- Place in Air Fryer basket and set Air Fryer on 360 degrees Fahrenheit. Set the timer for 18-20 minutes and start Air Fryer. Halfway through cooking, open the Air Fryer basket, add the remaining cheese, and stir. Close and continue cooking.
- Once the Air Fryer is done cooking, open Air Fryer and stir the mac and cheese. Remove the pan from the basket and allow it to cool for 5-10 minutes. The mac and cheese will thicken while it cools. Serve and Enjoy.
What to Serve with Air Fryer Mac and Cheese
Air Fryer Mac and Cheese can be served as a side dish with various main courses such as Air Fryer Fried Chicken, Air Fryer Pork Tenderloin, Air Fryer Brussels Sprouts, and Instant Pot Cabbage.
Tips
- This recipe uses sharp cheddar, but you can add any cheese. Here’s a list of great cheeses for mac and cheese from the pros.
- The cheese will thicken while it cools. It’s a good idea to let it rest before digging in.
- Various air fryers will cook at different speeds, so you’ll want to check it halfway through. My Philips took 18 minutes to complete this dish, while my Ninja Foodi took 20 minutes.
FAQs
- Can I use pre-shredded cheese?
You can use pre-shredded cheese, but I highly recommend block cheese as it melts much better and gives a creamier texture than pre-shredded cheese. - Can I double the recipe?
I wouldn’t recommend doubling this recipe for an air fryer basket. - Can I freeze Air Fryer Mac and Cheese?
While you can freeze mac and cheese, it is not recommended because the pasta may become mushy once it is reheated. It is always better to eat fresh. - Can I make this recipe in a regular oven?
You can make this recipe in a regular oven by baking it at 375 degrees Fahrenheit for 20-25 minutes.
Conclusion
Ninja Air Fryer Mac and Cheese is a quick and easy side dish that can be made in under 20 minutes. This recipe is perfect for busy weeknights when you are short on time and want a satisfying and delicious meal. This dish’s creamy texture and cheesy goodness will surely make you return for seconds. Try this recipe today and impress your family and friends with your culinary skills!
Check out Ninja Foodi Roasted Baby Potatoes (Crispy and Delicious)

Best Air Fryer Mac and Cheese
Ingredients
- Ingredients:
- 1 tbsp. baking soda
- 1 tbsp. ground black pepper
- 1/2 c. lemon juice
- 1 tbsp. onion powder
- 5 c. water
- 1 tbsp. garlic powder
- 1 box (16 ounces) dry elbow or cavatappi pasta
- 1 tsp. mustard powder
- 1 c. heavy cream
- 2 c. panko or Italian bread crumbs
- 1 bag (16 oz.) of shredded cheese
- 1 stick (1/2 c) butter, melted
- 2 tbsp. kosher salt
Instructions
- Add baking soda and lemon juice to the pot. Stir until the mixture dissolves and the bubbles stop. Stir the water into the pasta.
- Ensure the pressure release valve is in the SEAL position before assembling the pressure lid. PRESSURE should be set to low (LO). Set the time to 0 minutes (pressurizing the unit takes enough time to cook the pasta). Click START/STOP to begin.
- After pressure cooking, allow 10 minutes for the pressure to release. Moving the pressure release valve to the VENT position after 10 minutes can quickly release the remaining pressure. When the unit has finished releasing pressure, carefully remove the lid.
- Add all the ingredients except bread, crumbs and butter to the pot.
- Combine all ingredients and stir well to melt the cheese.
- Melt butter and combine bread crumbs in a bowl. The mixture should be spread evenly over the pasta.
- The crisping lid should be closed. Choose AIR CRISP, set the temperature to 360°F, and set the time to 7 minutes. Click START/STOP to begin.
- Serve immediately after cooking is complete.